We may be compensated for your purchase of any of the products featured on this page – it helps us keep the lights on :)
The Forecast Sheet tool in Excel helps you quickly create a data forecast at the click of a button.
Using your existing data, this tool creates a forecast that even includes a chart!
This is perfect if you need to make a presentation of your forecast!
The Forecast Sheet tool is available in Office 365 and Excel 2016 and newer
Using Forecast Sheet in Excel
WATCH: How to Use the Forecast Sheet in Excel – Tutorial
Where is the Forecast Sheet Tool in Excel?
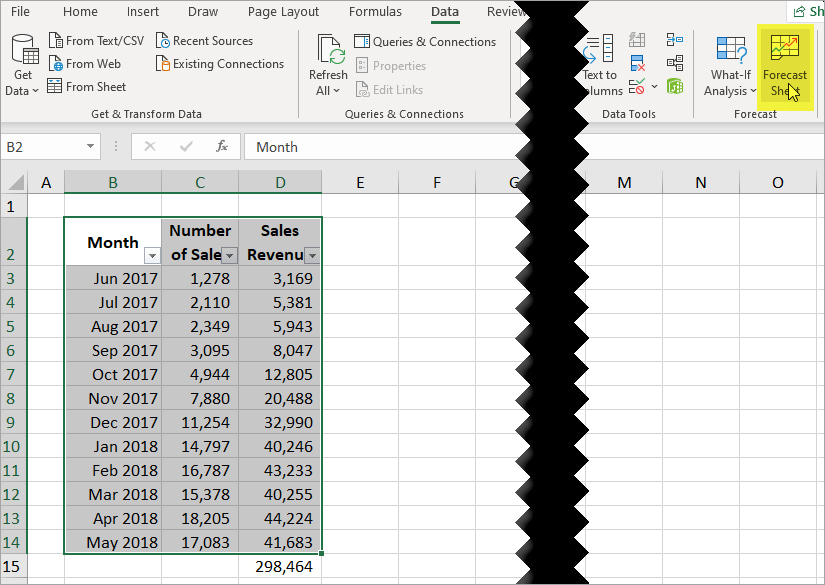
You’ll find the Forecast Sheet button in the Data tab, under the Forecast section.

How Does the Forecast Sheet Tool Work?
The Forecast Sheet tool works by detecting seasonality trends in your data. It then uses this information to forecast what future values could be.
It creates 3 projections:
- the likeliest future results
- the most likely best-case scenario and
- the most likely worst-case scenario
How to Create Your Forecast
To create your forecast, you’ll need 2 pieces of information:
- a range of dates and
- the data results for those dates
TIP: The dates should be consistent (like a series of days, weeks, months, etc.) and in chronological order.
In this example, we’re using months.
To begin your forecast, select your data and click on “Forecast Sheet.”
NOTE: Regardless of how many columns you’ve selected, this tool defaults to forecasting the right-most data. Which, in this example, is Sales Revenue.
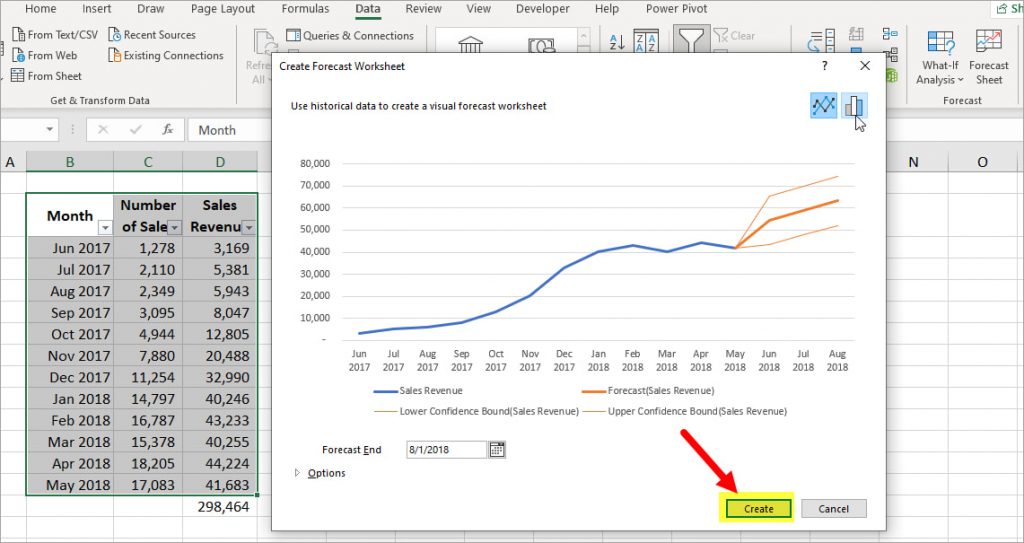
Clicking on Forecast Sheet will create a pop-up labeled “Create Forecast Sheet.” This will contain a line chart and is where you will preview your forecast results and make any changes.
The default projects the next 3 results (for example, 3 months).
If you’re happy with the default forecast, click “Create” to generate your forecast.
Otherwise…
Customizing Your Forecast Sheet Results
If you need to make changes to your Forecast, you’ll do so in the “Create Forecast Sheet” pop up.
Here are a couple of things you can quickly change:
- Extend your forecast to additional dates by updating the date in the “Forecast End” field
- Toggle between a column chart and a line chart by clicking the button on the top-right corner of the pop-up

Advanced Customization Settings
For more advanced customization options, click on “Options” to open the menu.
Here you can change:
(FYI, the numbers in this list correlate with the numbers on the next image)
- The start date of your forecast
- The confidence interval: The default is 95%, but you can adjust this, if needed
- How the seasonality is calculated: The tool automatically detects seasonality in your data, but you can always update this. To set it manually, you would count the number of up/down cycles in your data and then enter that here. The number just needs to be 2 or higher.
- Whether or not to include forecast statistics: Forecast statistics include the Alpha, Beta, Gamma, MASE, SMAPE, MAE, and RMSE values for your forecast.
- The range of cells used to set the timeline: If you have a different time range you’d like to use for your forecast, you would update that here.
- The data range to base the forecast on: For example, if we wanted to forecast Number of Sales instead of Sales Revenue, we would update that selection here.
- How to handle any missing data points (in your original data): If you have missing points in your data, you can select Interpolation, which just fills in a likely number, or set any blanks to zero.
- What to do if there is a duplicate value (in your original data): If you have multiple values for the same date, you can set here how to treat them. It defaults to averaging them, but you can choose a different way to aggregate them (for example, Count, Max, Median, etc).
Finish Your Forecast
Once you’ve set your selections, click “Create” to generate your forecast.
This will create both a Table with all the data and a chart, providing you a visual of your data.
Leave a Reply